 Add Row
  Add
Add 

Understanding the Roof Replacement Journey
When the time comes to replace your roof, it’s not merely a project; it’s a transformative journey that enhances the aesthetics and functionality of your home. No matter how sturdy your roofing material may be, the inevitable wear and tear remind us that a well-executed roof replacement can either safeguard or jeopardize our homes. Let’s dive deep into the eight essential steps to ensure a smooth roofing transformation.
Step 1: Thorough Roof Assessment
The first step begins with a detailed inspection performed by a seasoned roofing professional. This entails checking the roof's structural integrity, drainage system, and any potential moisture intrusion that could lead to future complications. Photos are often taken to document the current state before discussing the necessary budget, aesthetics, and the homeowner's goals. Various studies—like one from Checkatrade—notate that a typical roof replacement falls within the price range of £4,000 to £19,000, influenced by the complexity of the project.
Step 2: Careful Project Planning and Material Selection
Once the assessment is complete, the next step is constructing a comprehensive quote tailored to your specific requirements. It’s crucial to have a transparent timeline and a clear outline of the materials involved, considering elements such as weight being a crucial factor in your roof’s durability and aesthetics. Furthermore, choosing the right time for a project, traditionally during the fall season, can also help mitigate weather challenges and ensure better adherence to deadlines.
Step 3: Navigating Permitting and Site Preparation
Before work begins, the roofing contractor needs to navigate the complex world of local permitting. Understanding compliance in these areas is vital for avoiding future complications when you decide to sell your property. Moreover, proper site preparation is paramount; marking off areas for safety and erecting a robust scaffolding can significantly enhance workplace safety during the entire project.
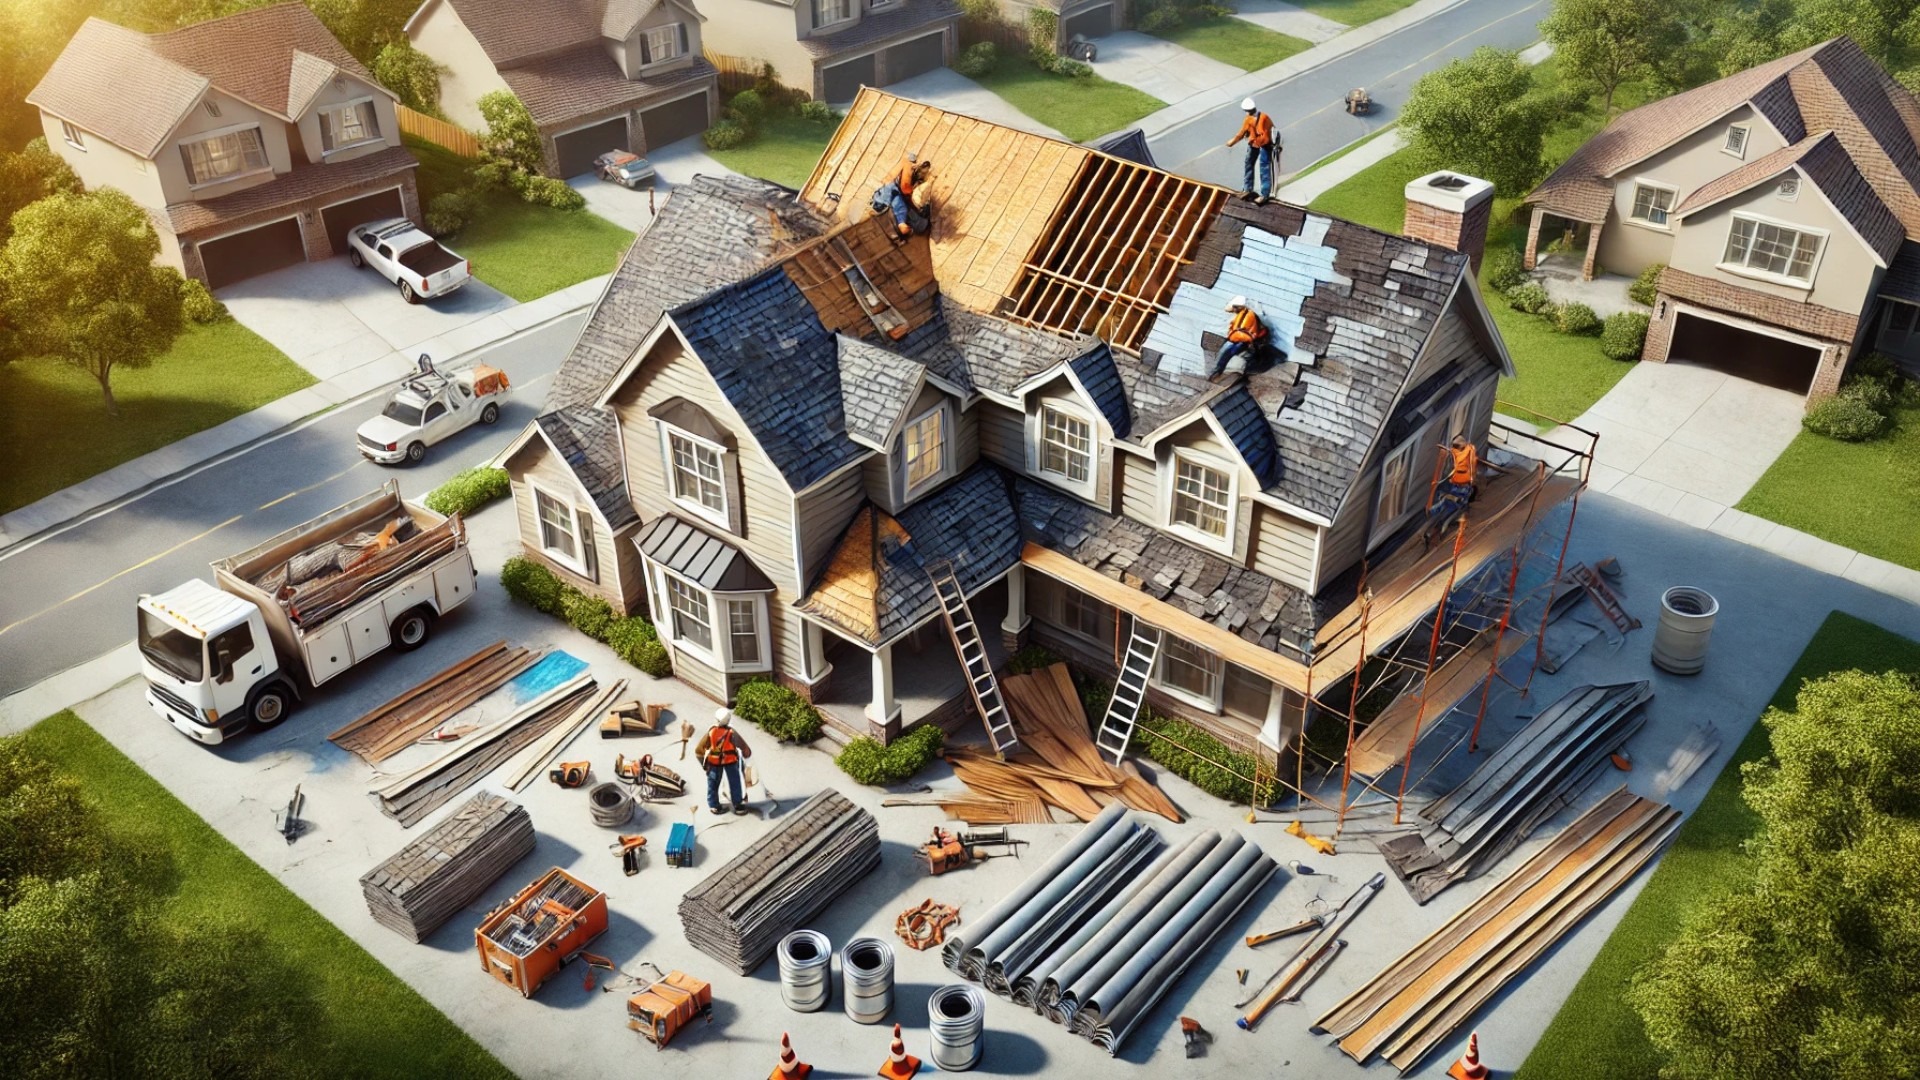
Step 4: The Important Removal of Old Roofing
As they say, sometimes you have to remove the old to make way for the new. This phase involves stripping the old materials from the roof, starting at the ridge and moving downward. This careful approach ensures that teams can thoroughly manage debris, minimizing the risk of injury while keeping the worksite tidy. A magnetic sweeper often helps to eliminate leftover nails—ensuring a safe and clean surface for installation.
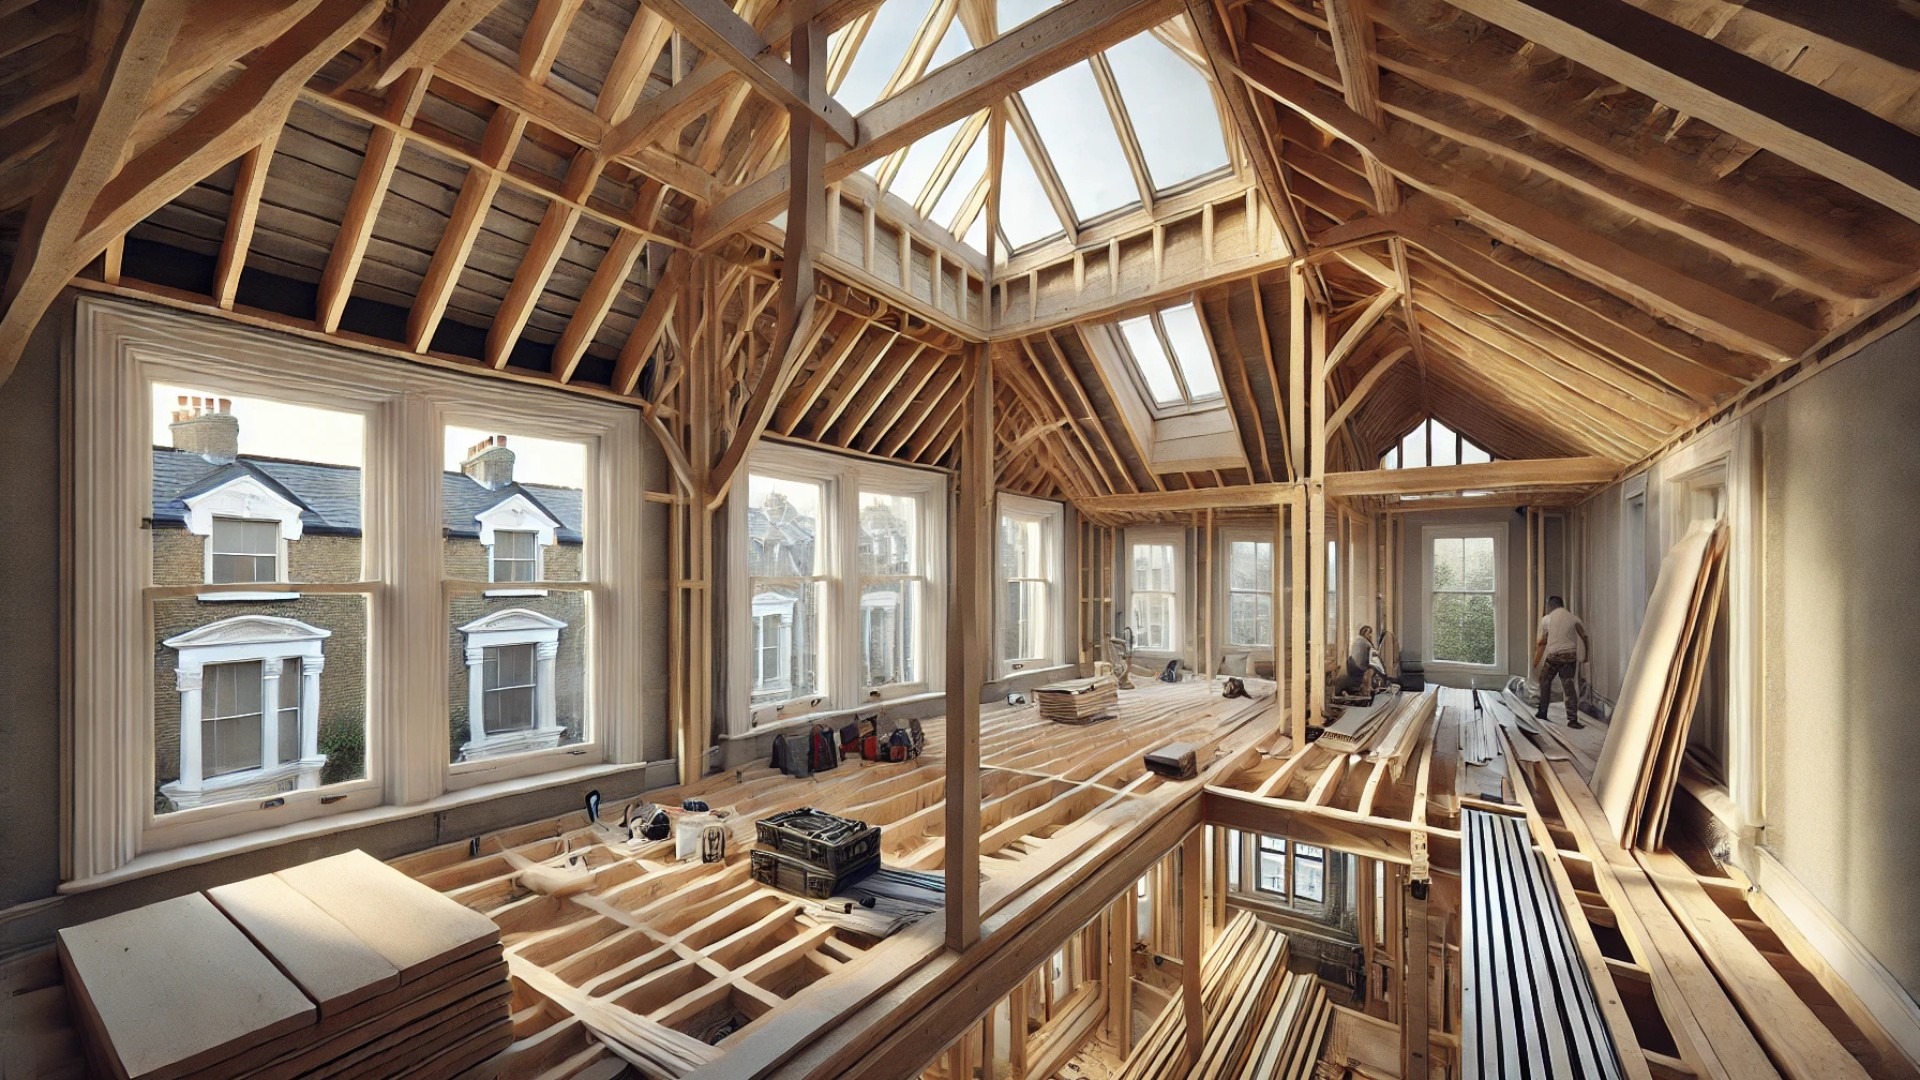
Step 5: Inspecting the Roof Decking
This stage serves as a crucial checkpoint to assess the roof decking itself, which must support the new roofing installation. Water damage or structural flaws may be revealed in this process, allowing the crew to make necessary repairs before proceeding. Given the potential for future decay if unnoticed, ensuring the integrity of the decking with inspections is a significant guardian against costly future repairs.
Step 6: Installing the New Roofing
With the groundwork laid and the integrity of the roof established, it’s finally time to install the new roofing system. Be it shingles, tiles, or metal roofing, it’s essential to utilize high-quality materials that align with both aesthetic desires and performance expectations.
Final Thoughts on Roof Replacement
In conclusion, a roof replacement encompasses much more than merely swapping old materials for new ones. Through diligent assessment, responsible planning, and expert execution of each of these steps, homeowners can not only enhance their property’s value but also ensure a protective shelter for years to come. Whether you’re in the planning stages or just considering, deepening your understanding of these steps can guide your decisions and expectations.


Write A Comment